How I Created a Sorting Visualiser in Blazor
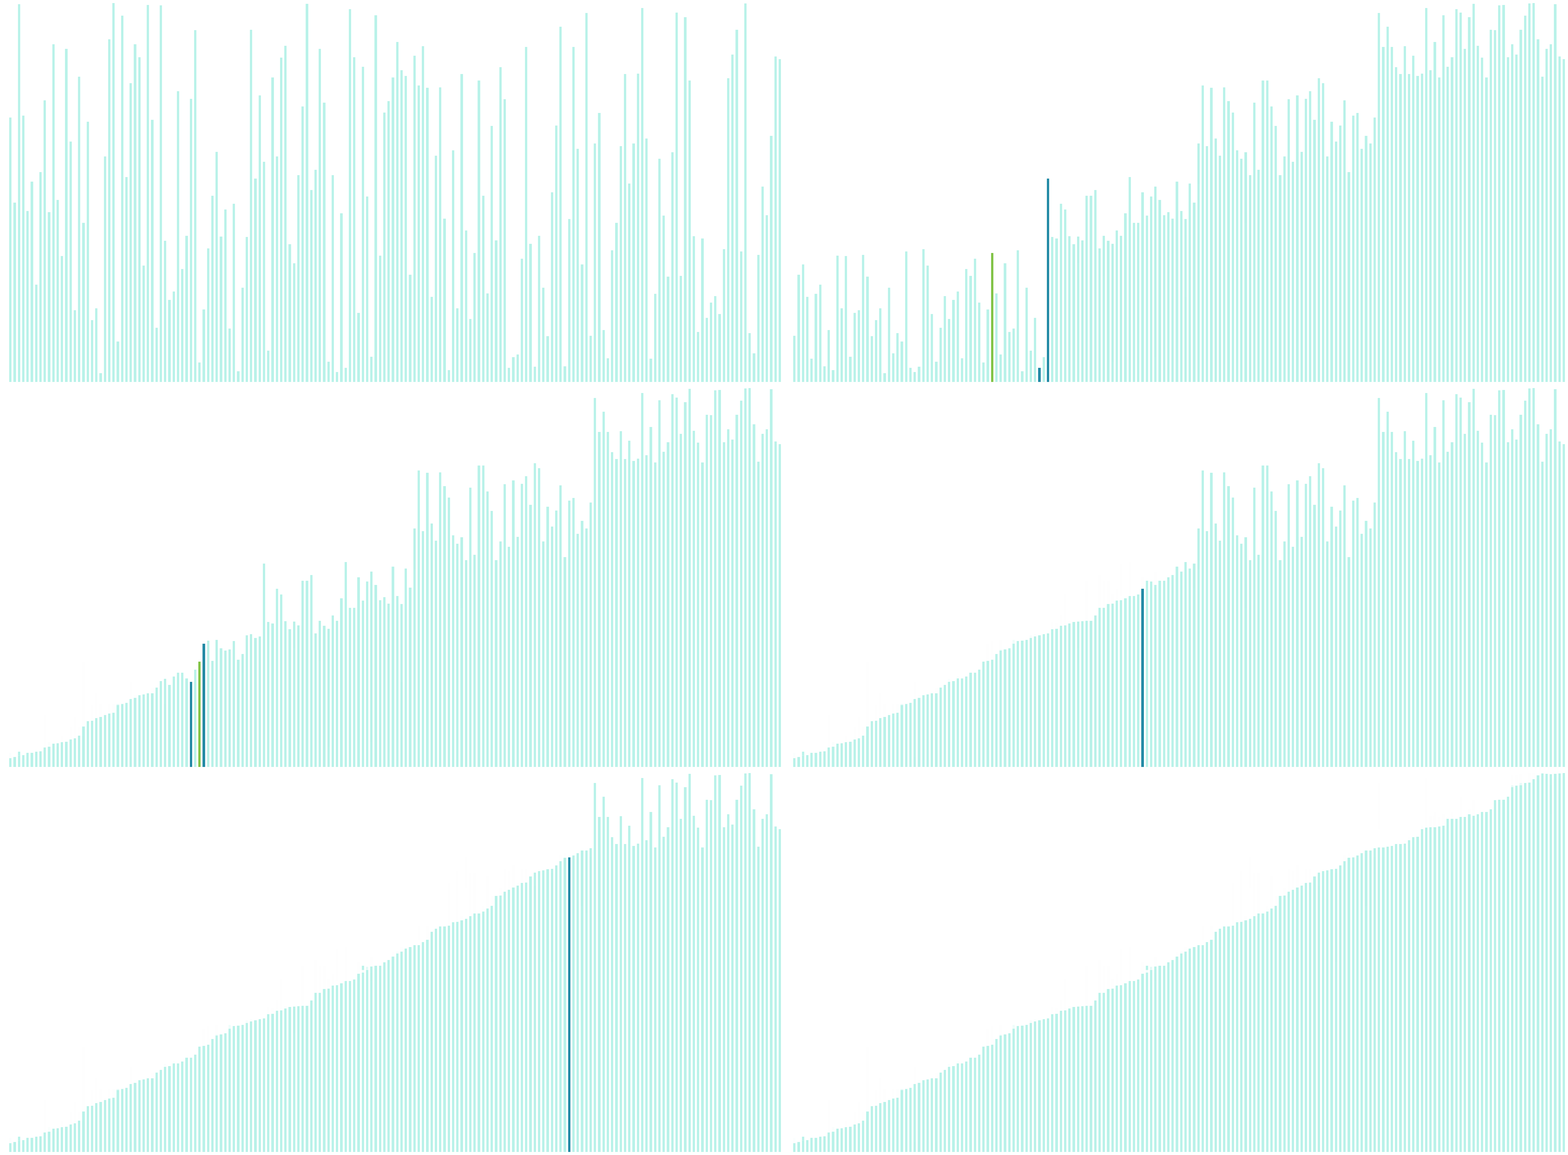
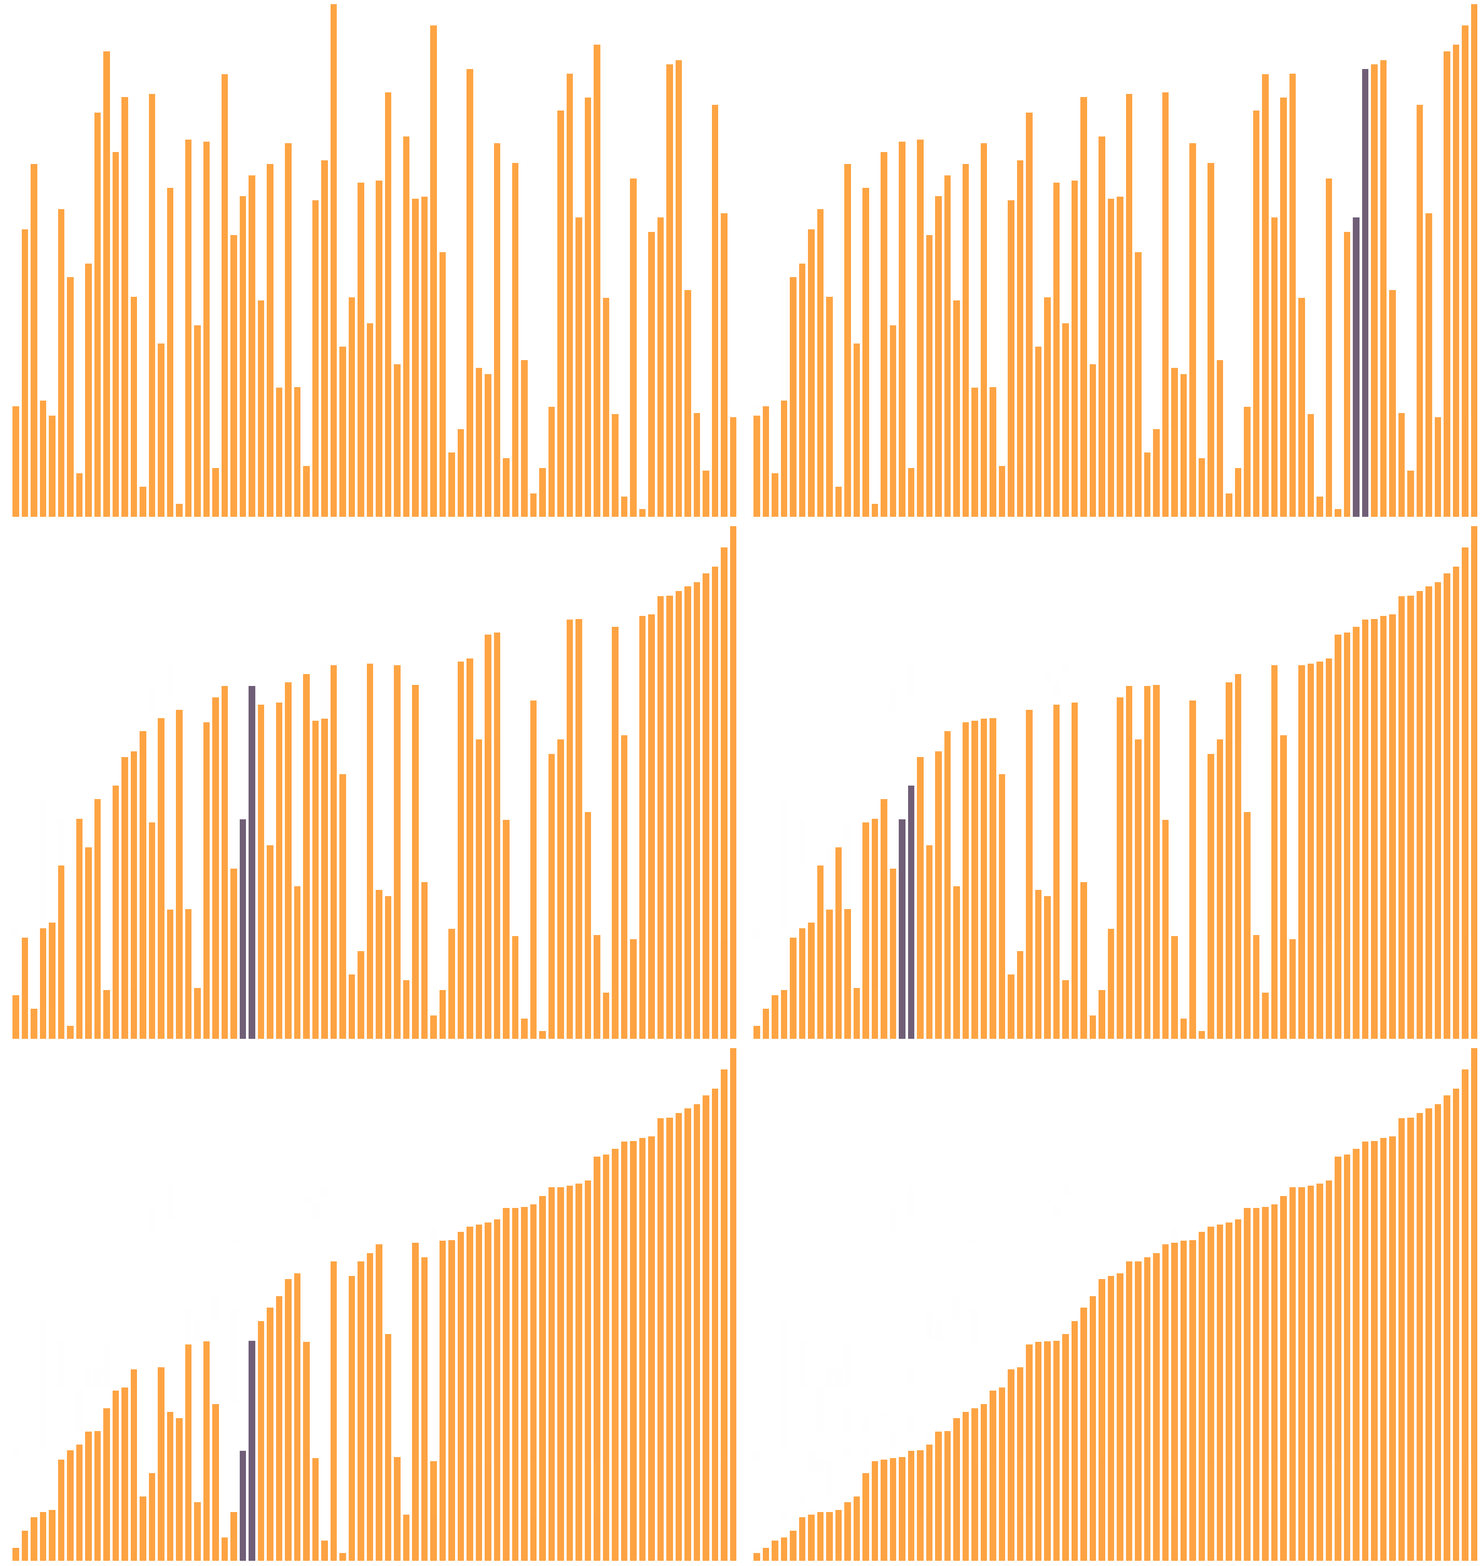
I've created a simple sorting visualiser using Blazor Web Assembly

Photo by Diana Orey on Unsplash
A project I've always wanted to create is a visualisation of sorting algorithms ever since I saw it elsewhere on the internet.
With the release of .NET 6, I wanted to see how far the Blazor web framework has come along. And so I used this as an opportunity to create this sorting visualiser using the Blazor framework.
This project not only allows me to learn the basics of Blazor but also explore the various known/popular sorting algorithms.
Here is the link to the project on Github

Solution
Visual Studio makes it easy to create a base Blazor Web Assembly project with some example pages. I started with this and then created my own page.
The first thing I did was write an array generator. This will generate a random array of integers on page load, I've also added a button which triggers this function on click, so the user can generate a new one as they please.
On the template, I iterated over the array and created a div element with a width of 5px, its height is mapped to the array elements which then gives us a visualisation of the unsorted array.
I then created a function which handled the sorting. Prior to doing this, I had created a class library of the sorting algorithm (I started with quick sort), this was so I could explore and study it (with unit tests) before applying it to this application.
Challenges
The main challenge was animating the swap. The step needed was to have the array re-render as soon as we swapped the elements. Thankfully Blazor already had a built-in function StateHasChanged() which enabled me to manually trigger a re-render as soon as we swap the elements when sorting.
In terms of visualising the animation, some basic CSS was needed to change the colour each time a swap was taking place. I used 2 pointers (3 for quicksort to visualise the pivot) to track the indices of the array and passed that into a function which was responsible for changing the background colour of the elements. And so each time a re-render was triggered, the background colour of each element was changed accordingly.
I also needed to add a delay/sleep onto the function otherwise the function will run too quickly and we wouldn't be able see the animation. Adding a delay of 20ms was good enough.
Summary 📝
For everyday use, I've always used the built-in sort functions from the programming language I'm using. But doesn't mean there isn't value in learning different ways to write an algorithm. It's interesting to see the various solutions, and it is helps to have visualisation of the problem/solution.
There is room for improvement, I could refactor the visualiser to be a single component to be reused instead of duplicating it for each sorting algorithm.
In any case, I'm glad I wrote this project, it was quite simple in the end but its good to have spent some time creating it. I'm pleased with the outcome.
There are many other sorting visualisers on the internet which have additional features such as adjusting speed, array size and even sound effects. I don't think I'd put in the time to do it as the main feature of seeing the elements swap and watching the bars sort in real time is enough for me.
